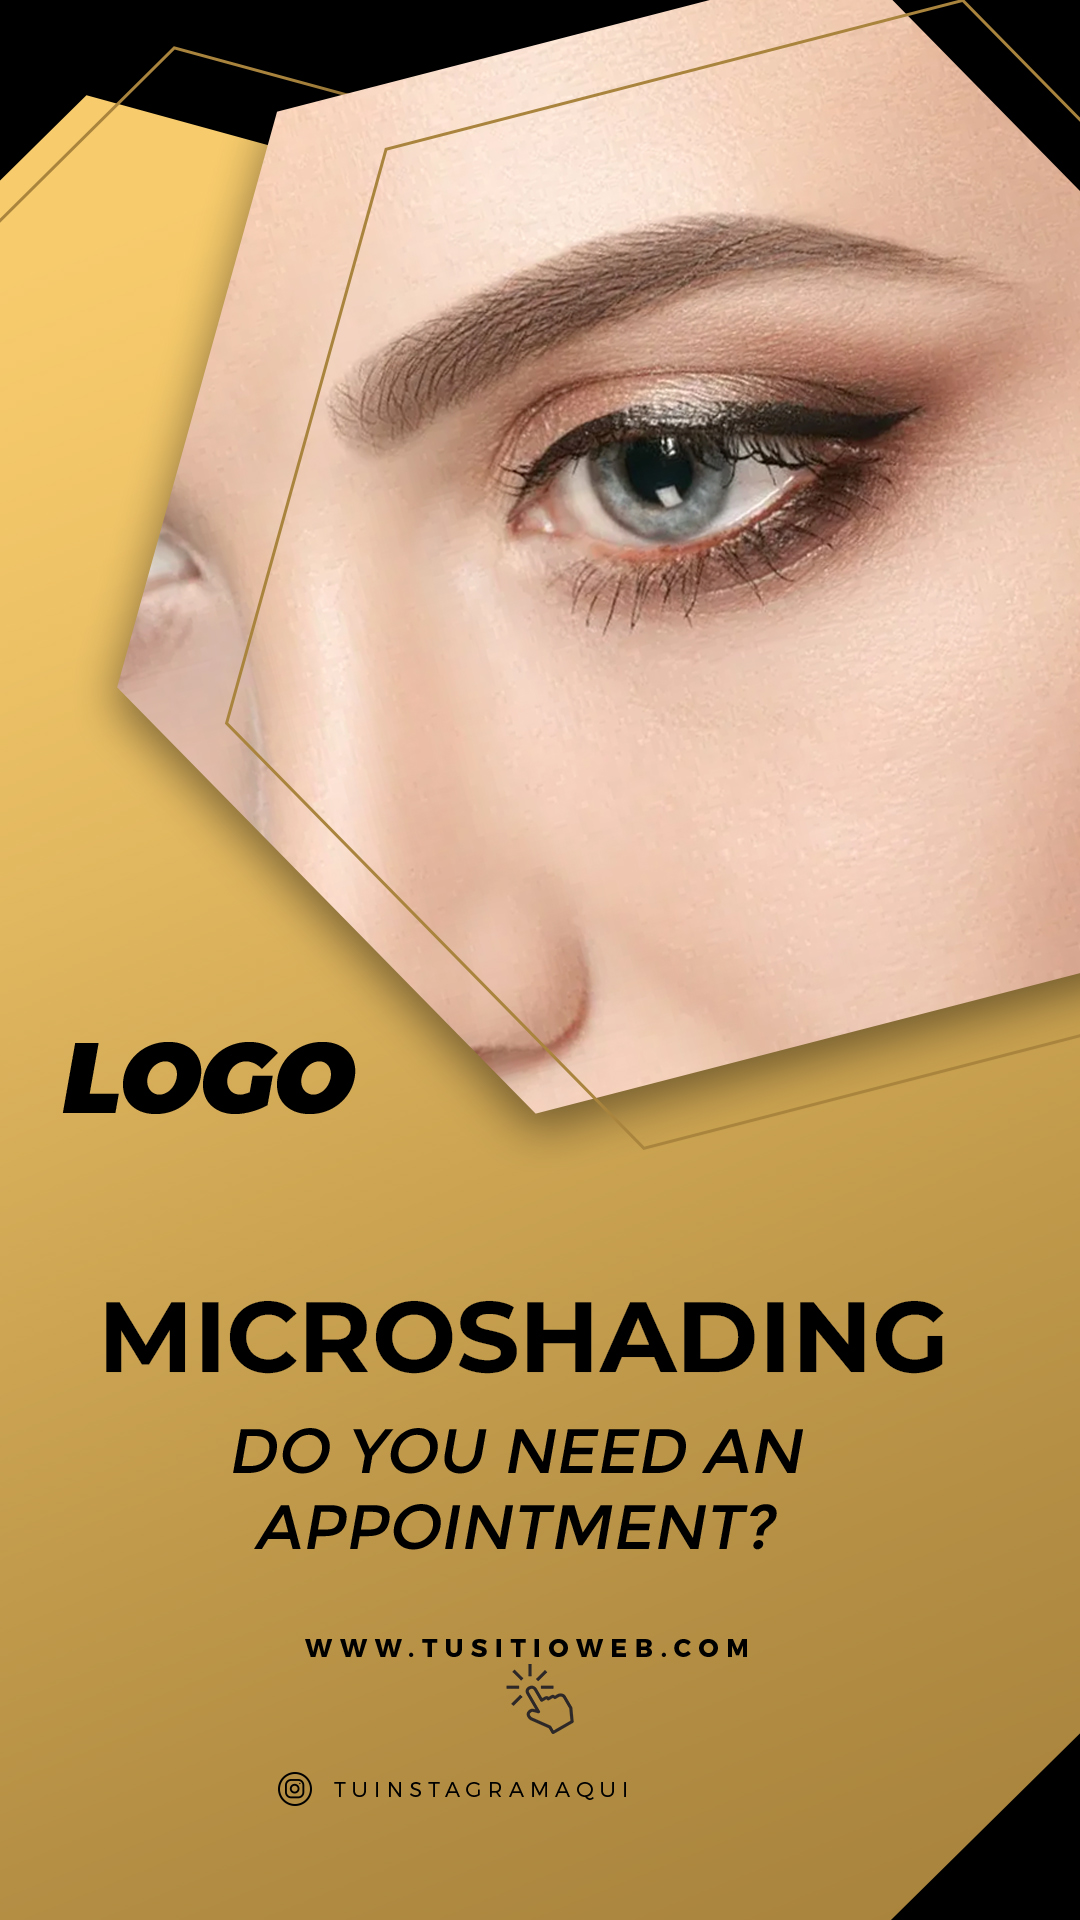
Looking for a professional and visually appealing way to promote your microshading services? Our collection of Microshading flyer in PSD offers the perfect solution! These professionally designed templates are available in PSD format, making them incredibly easy to customize in Adobe Photoshop. Start creating eye-catching flyers to attract clients seeking perfectly shaded eyebrows.
Why Choose an Editable PSD Template?
Opting for a Microshading flyer in PSD provides you with complete creative control over your promotional materials. PSD files, the native format for Adobe Photoshop, allow you to effortlessly modify text, colors, incorporate your branding, showcase your microshading results, and adjust layouts to perfectly match your beauty studio’s style and the specific message you want to convey. Using an editable PSD template saves you valuable time and money compared to hiring a designer, while still providing a professional and attractive way to reach your target audience interested in eyebrow enhancement.
Main Features of This PSD Template
Our Microshading flyer in PSD templates come with a range of user-friendly features:
- Elegant Brow Design Layouts: Featuring a variety of sophisticated and clean layouts specifically designed to promote microshading, ombre brows, powder brows, and other eyebrow enhancement services.
- Fully Layered PSD Files: Each design element, including text fields for service descriptions and prices, image placeholders for showcasing before & after photos or brow styles, graphic elements like eyebrow shapes or subtle patterns, and background textures, is organized on separate, clearly labeled layers for easy identification and modification within Photoshop.
- Editable Text Layers: Easily update all text elements with your studio’s name, service descriptions, prices, special offers, artist information, contact details, website address, and compelling calls to action (e.g., “Book Your Appointment,” “Wake Up to Perfect Brows,” “Limited Time Offer!”).
- Image Placeholders: Simple-to-use placeholders allow you to seamlessly insert your own high-quality before & after photos of microshading treatments or examples of your stunning brow work.
- Print-Ready Resolution: Templates are often designed with high resolution settings (typically 300 DPI) to ensure crisp and professional printing results for flyers distributed in person or via mail.
- RGB Color Mode: Files are typically set up in RGB color mode for optimal digital display on social media and online platforms, but can be easily converted to CMYK for printing if needed.
- Bleed and Guides: Many templates include bleed areas and guides to ensure proper printing and trimming.
- Font Link Included: A dedicated text file within the download provides a direct link to download the specific fonts used in the design (fonts are not embedded in the PSD file due to licensing restrictions).
- Font Installation Tutorial Link: For users who are new to Photoshop or need a refresher, we’ve included a link to a helpful video tutorial on how to install fonts for use in Photoshop: https://www.youtube.com/watch?v=XE5jgJ0KnwA (Opens in a new tab).
How to Personalize Your PSD Template
Customizing your Microshading flyer in PSD template in Adobe Photoshop is a straightforward process. Follow these simple steps to create your perfect brow service promotion:
Download the File:
Download the ZIP file containing the Microshading flyer in PSD template and the accompanying font link file.
Unzip the File:
Extract the contents of the ZIP file to access the .PSD template and the text file with the font link.
Open the PSD File:
Open the .PSD file using Adobe Photoshop on your computer.
Install the Font:
Open the .txt file containing the font link. Follow the provided link to download and install the fonts used in the template. If you need assistance, refer to our font installation tutorial: https://www.youtube.com/watch?v=XE5jgJ0KnwA (Opens in a new tab). Ensure the fonts are installed before proceeding with editing.
Edit the Layers and Texts:
In Photoshop, navigate to the “Layers” panel. Locate the text layers you wish to modify and use the Type Tool (T) to input your studio’s name, service descriptions, prices, special offers, artist information, contact details, website address, and compelling calls to action. Adjust the font size, color, and alignment to create a visually appealing and informative design. Locate the image placeholders and use the “Place” command (File > Place) to insert your own high-quality before & after photos of microshading treatments. Resize and reposition them within the designated areas to best showcase your work. Feel free to adjust colors of other design elements and incorporate your logo to match your studio’s branding.
Save and Export:
Once you have customized your Microshading flyer in PSD template:
- Save: Save your work as a
.PSDfile to retain all editable layers for future modifications. - Export for Print: Go to “File” > “Save As” and choose a print-ready format such as
.PDF. Ensure your color settings are CMYK and that bleed and trim marks are included if required by your printing service. - Export for Digital Sharing: Go to “File” > “Export” > “Save for Web (Legacy)” or “File” > “Export As” and choose a web-friendly format like
.JPEGor.PNG. Optimize the image size and quality for online sharing on social media platforms and your website.
Tips for Creating Effective Microshading Flyers
- Install Fonts First: Always install the provided fonts before opening the PSD file to ensure the text displays correctly.
- Use High-Quality Before & After Photos: Visually demonstrate the stunning results of your microshading services.
- Clearly Highlight Your Services and Pricing: Make sure potential clients can easily understand what you offer and how much it costs.
- Include Essential Contact Information: Display your studio’s name, address, phone number, website, and social media handles clearly.
- Use Strong Calls to Action: Encourage bookings with clear calls to action like “Book Your Free Consultation,” “Schedule Your Appointment Today,” or “See Our Portfolio!”
- Maintain Brand Consistency: Use your studio’s colors, logo, and overall visual style for brand recognition.
- Proofread Carefully: Double-check all text for any errors before printing or distributing.
Frequently Asked Questions
- Do I need Adobe Photoshop to edit these templates? Yes, our microshading flyer templates are provided in PSD format and require Adobe Photoshop for editing.
- Are the stock images included in the download? The inclusion of stock images may vary depending on the template. Placeholders are usually provided for easy insertion of your own photos.
- Are the fonts included in the download? No, due to licensing restrictions, the fonts are not included directly in the PSD file. However, a text file with a download link is provided.
- What if I don’t know how to install fonts? We have included a link to a helpful video tutorial to guide you through the font installation process: https://www.youtube.com/watch?v=XE5jgJ0KnwA (Opens in a new tab).
- What color mode should I use? RGB is generally best for digital, while CMYK is recommended for printing. You can convert between modes in Photoshop.
Download Your Microshading Flyer PSD and Enhance Your Business!
Promote your professional microshading services effectively with our professionally designed and easily editable PSD templates. Download your favorite template now and start attracting more clients to achieve their perfect brows!
Download “#0072 Microshading flyer in PSD” 0072-1.zip – Downloaded 246 times – 8.25 MB